Creating and Publishing Schedules
Learn how to generate meeting schedules with automated role assignments and publish them for your club members.
Note: Only club officers (President, VP Education, Secretary, or Admin) can create and publish schedules.
Before You Begin
Make sure you have: - Active club officer role - Active subscription (not in lapsed state) - At least one active member in your club - Club roles configured (the system comes with default roles) - Club settings configured (meeting day, interval, timezone)
Understanding the Schedule Creation Process
The Club Schedule automatically generates meeting schedules by:
- Creating meetings based on your club settings (day, interval, number of meetings)
- Skipping dates where you've marked holidays
- Assigning roles to members using an intelligent rotation algorithm
- Considering member absences, role preferences, and prerequisites
- Ensuring fair distribution of roles across all members
Creating a New Schedule
Step 1: Start the Creation Process
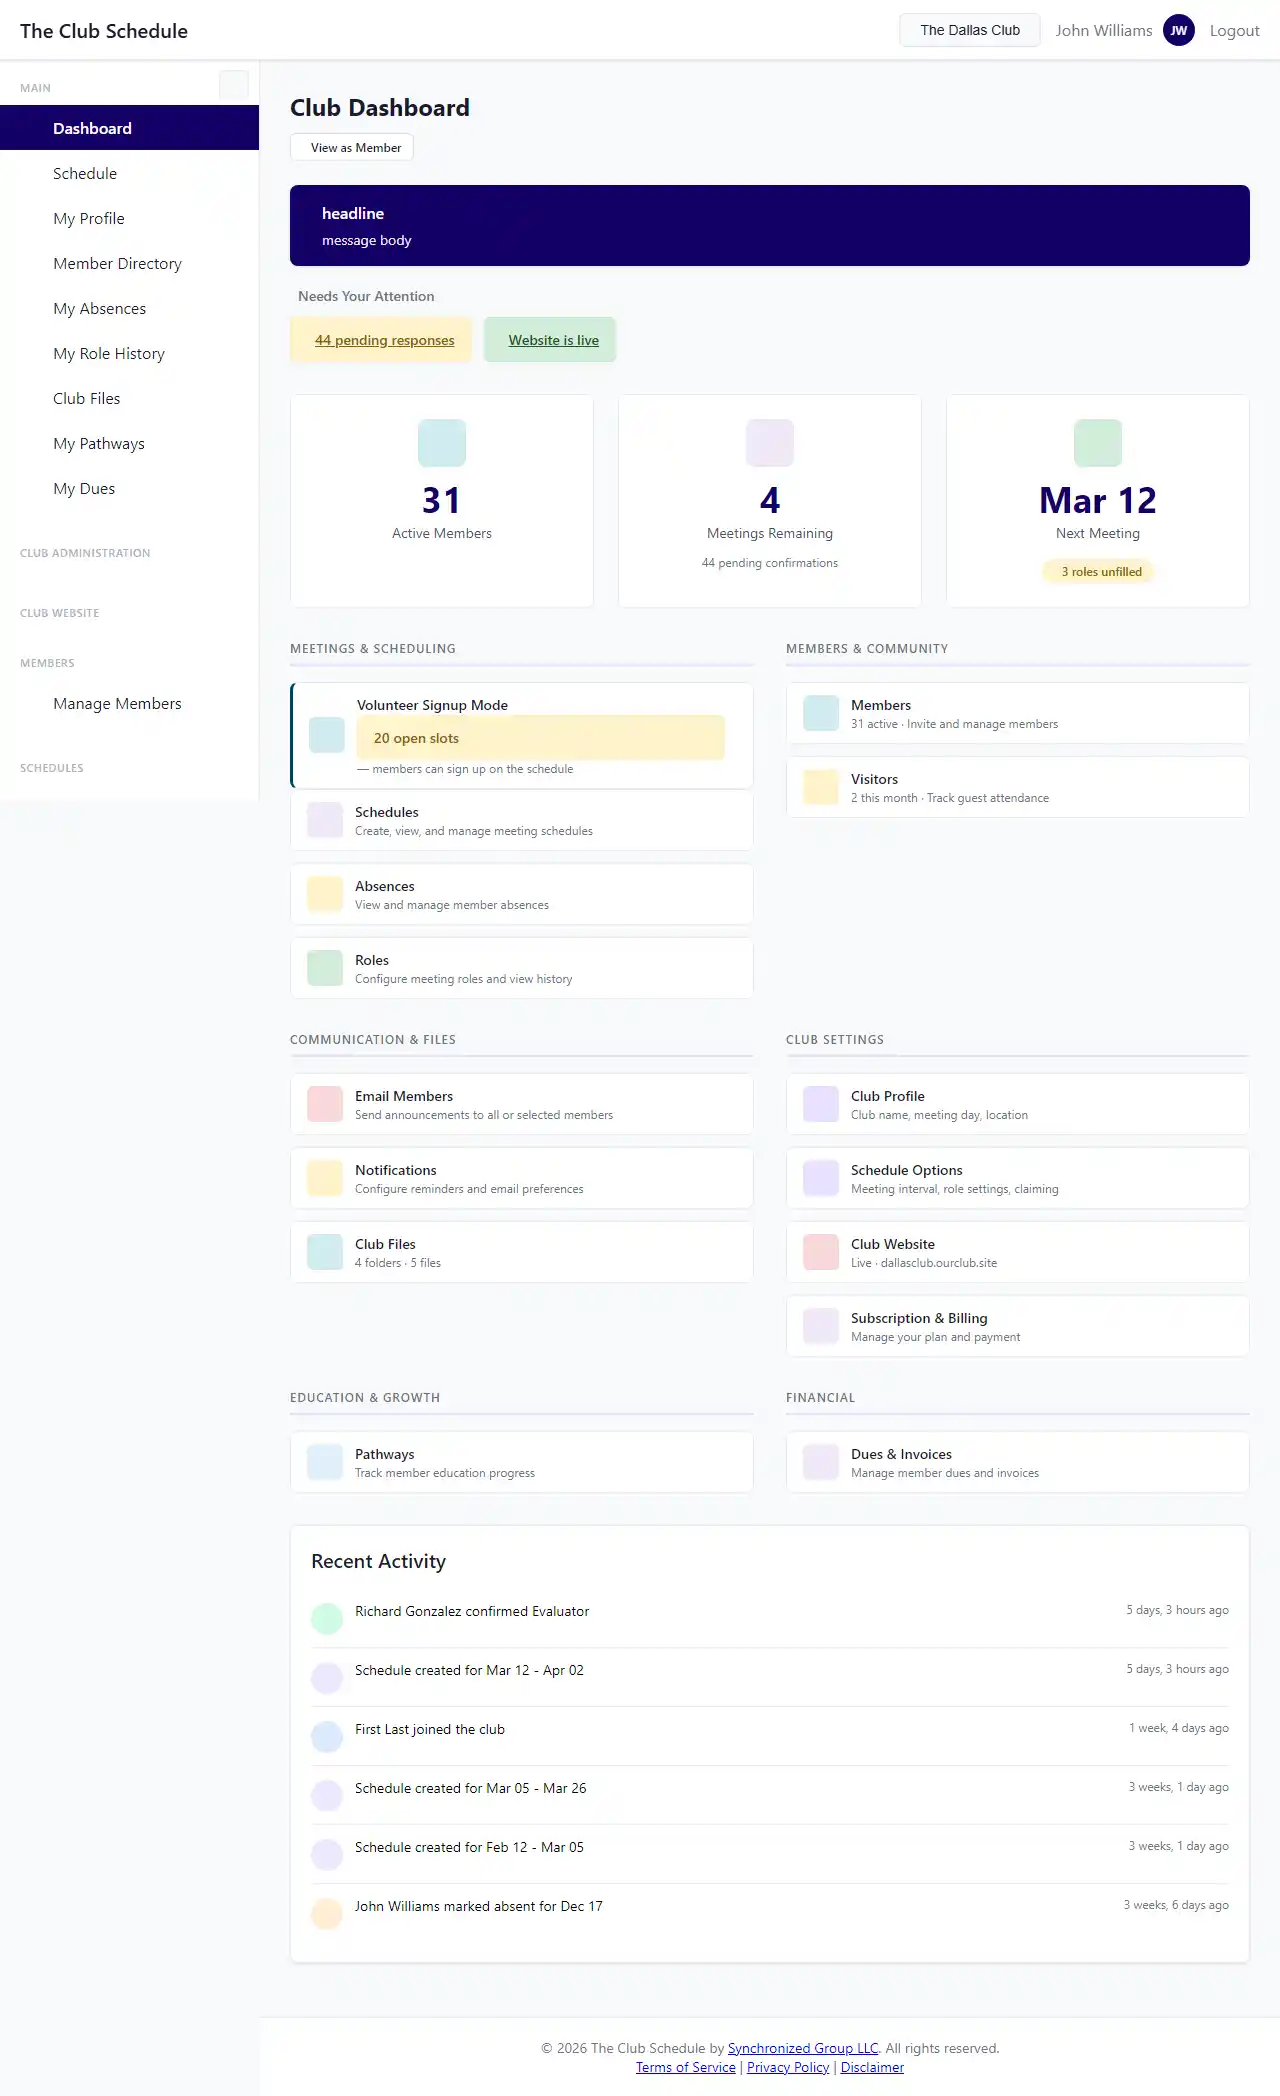
- Log in as a club officer
- From your dashboard, click Create Schedule
- Or navigate to Schedules > Create New Schedule
Step 2: Choose Meeting Types (Optional)
If you have meeting types configured, you'll see a question:
"Will all meetings be regular?"
- Select Yes to use standard roles for all meetings
- Select No if you want to assign different meeting types (like "Speaker Night" or "Contest") to specific dates
If you select No, you'll be taken to a screen where you can choose a meeting type for each date before the schedule is generated.
See Set Up Meeting Types for details on configuring meeting types.
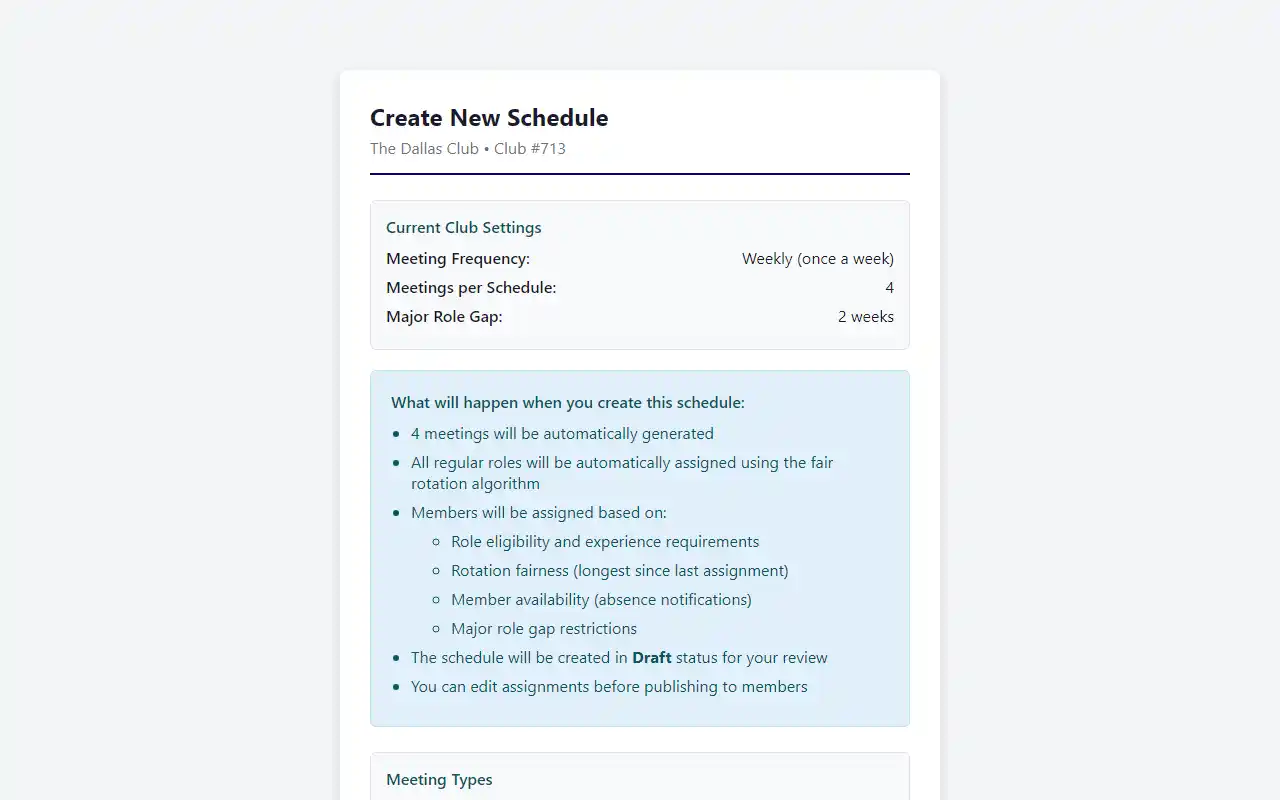
Step 3: Automatic Generation
The system automatically: - Determines the schedule date range (starts after your last published schedule) - Generates the configured number of meetings (set in Club Settings) - Assigns roles to members based on availability and rotation - Creates the schedule in "Draft" status
You'll see a success message: "Schedule created successfully!"
Step 4: Review the Draft Schedule
After creation, you'll be taken to the schedule detail page. Review:
- Meeting dates - Are they correct? Are there any unintended meetings on holidays?
- Role assignments - Are members assigned appropriately?
- Placeholder assignments - Are there roles marked "TBD" or unassigned?
- Member absences - Do the assignments respect marked absences?
Step 5: Make Adjustments (If Needed)
You can edit the draft schedule before publishing:
Editing Individual Assignments
- Click on a meeting to expand it
- Click Edit next to any assignment
- Select a different member from the dropdown
- Click Save
Adding or Removing Meetings
- Click Edit Schedule at the top
- Use the meeting management options to:
- Add a meeting (specify date)
- Mark a meeting as a holiday
- Delete a meeting
- Click Save Changes
Regenerating Role Assignments
If you want to completely regenerate assignments:
- Click Regenerate Assignments at the top of the schedule
- Confirm the action
- The system will reassign all roles based on current settings
Warning: This replaces all existing assignments. Use this carefully.
Step 6: Publish the Schedule
Once you're satisfied with the schedule:
- Click the Publish Schedule button
- Review the confirmation dialog
- Confirm publication
What happens when you publish: - The schedule status changes from "Draft" to "Published" - Any previously published schedule is automatically archived - If enabled in settings, notification emails are sent to all members - Members can now see and respond to their assignments
Schedule Settings
Several club settings affect schedule creation:
Meetings Per Schedule
Location: Club Settings > Schedule Settings
Controls how many meetings are generated: - 2 meetings - 4 meetings - 6 meetings (default)
Meeting Day and Interval
Location: Club Settings > Schedule Settings
- Meeting Day: Which day of the week meetings occur
- Meeting Interval: How often meetings happen (weekly, bi-weekly, monthly)
Notify Members on Publish
Location: Club Settings > Email Preferences
When enabled, all members receive an email when a schedule is published.
Understanding Role Assignments
The automatic assignment algorithm considers:
Member Eligibility
- Active members only
- Members not marked absent for that date
- Members who haven't opted out of the role
- Members meeting role prerequisites (if any)
Fair Rotation
- Prioritizes members who have never done the role
- After that, assigns based on longest time since last doing the role
- Considers assignments within the current schedule (not just historical)
Special Rules
- Major role gap: Members must wait a specified number of weeks between major roles
- President-only roles: Only assigned to the club President
- Concurrent assignments: By default, members aren't assigned multiple roles in the same meeting
Learn more about the assignment algorithm in the scheduling documentation.
Working with Draft Schedules
Extending a Draft Schedule
If you have a draft schedule with fewer meetings than configured:
- Click Create Schedule again
- The system automatically extends the existing draft
- New meetings are added to the end of the schedule
Deleting a Draft Schedule
To delete a draft schedule:
- Open the draft schedule
- Click Delete Schedule
- Confirm deletion
Note: Only draft schedules can be deleted. Published schedules can be archived but not deleted.
Publishing Best Practices
Timing
- Publish schedules at least 2-3 weeks before the first meeting
- This gives members time to respond and request changes
- Allows time to find replacements if members decline roles
Communication
- Enable "Notify members on publish" in settings
- Send a follow-up email highlighting important assignments
- Remind members to check their assignments and respond
Review Process
- Have a second officer review the schedule before publishing
- Check for obvious errors (wrong dates, duplicate assignments, etc.)
- Verify that major roles are distributed fairly
After Publishing
- Monitor member responses to assignments
- Be prepared to manually reassign roles if members decline
- Keep an eye on the schedule detail page for status updates
Managing Published Schedules
Editing Published Schedules
You can edit published schedules:
- Open the published schedule
- Click Edit Schedule
- Make your changes
- Click Save Changes
Changes to published schedules are immediate. Members see updates right away.
Archiving Schedules
When you publish a new schedule, the previous schedule is automatically archived. Archived schedules: - Remain visible in the schedule list - Can be viewed but not edited - Are preserved for historical record keeping
Viewing Schedule History
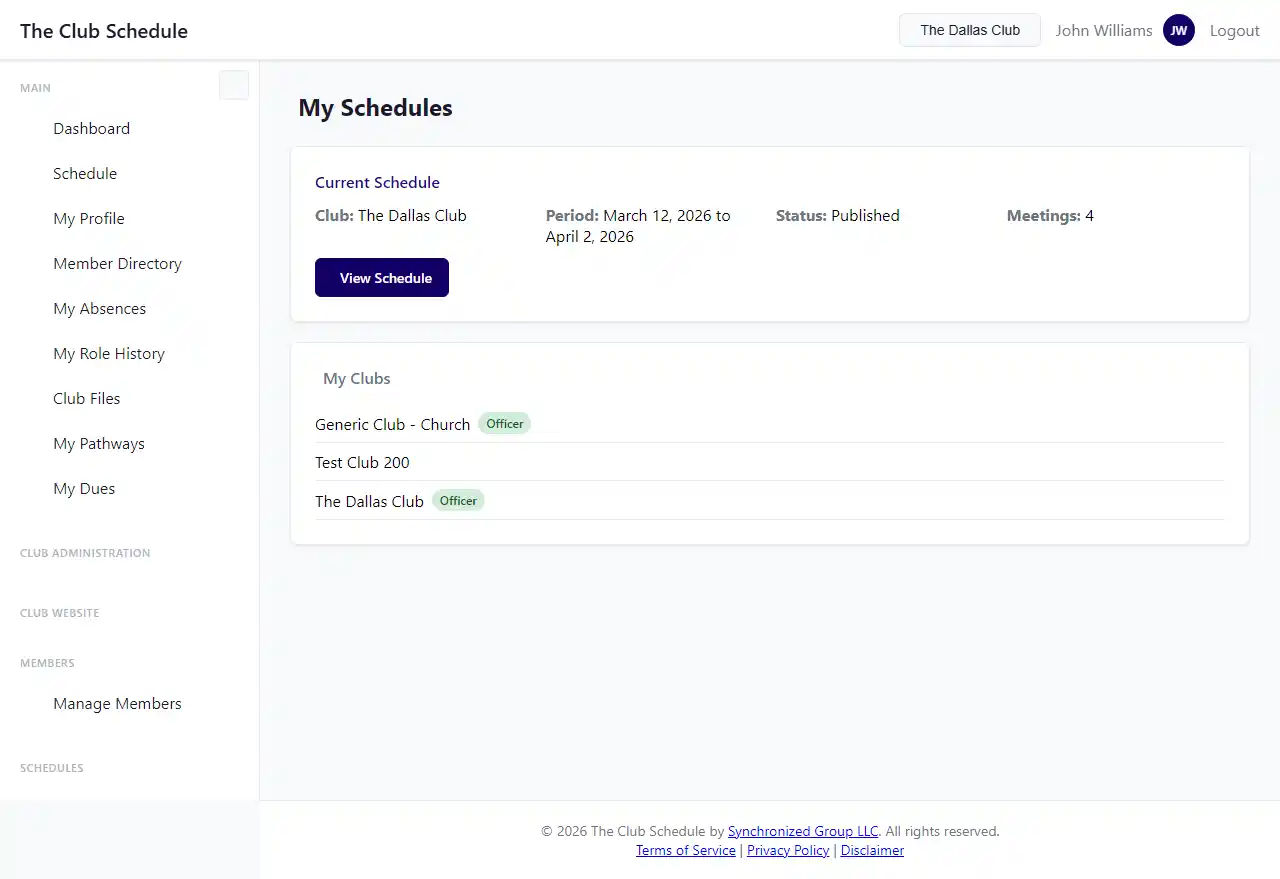
To see all schedules:
- Go to Schedules in the navigation menu
- You'll see all schedules organized by status:
- Published (the current schedule)
- Draft (work in progress)
- Archived (past schedules)
Troubleshooting
No members were assigned to some roles - Check if members have opted out of those roles - Verify members are marked as active - Check for absence conflicts on those dates - Ensure role prerequisites aren't too restrictive
The schedule has the wrong number of meetings - Check your "Meetings per schedule" setting in Club Settings - Verify your meeting interval is set correctly - Check if holidays are interfering with meeting dates
I can't publish the schedule - Ensure you're logged in as an officer - Verify your subscription is active (not lapsed) - Check that the schedule is in "Draft" status
Members didn't receive notification emails - Verify "Notify members on publish" is enabled in Club Settings - Check that members have valid email addresses - Look for notification job status in Recent Activity - Check your spam/junk folder if you're also a member
I published by accident - You cannot unpublish a schedule - You can edit the published schedule to make corrections - If needed, create a new draft schedule and publish it (the old one will be archived)
Tips
- Create drafts early - Generate schedules well in advance so you have time to review
- Check holidays - Add club holidays before creating schedules to avoid meetings on those dates
- Review role distribution - Make sure major roles are spread across different members
- Use the preview - Review the entire schedule before publishing
- Communicate changes - If you edit a published schedule, notify affected members
- Keep backups - Download PDF copies of published schedules for your records